Let’s be honest—your shuffleboard table probably hasn’t been thoroughly cleaned since the day it was put together. If you are like most people, you are asking yourself why your pucks stop halfway down the table instead of winning those points. Well, a clean shuffleboard is about more than just shiny wood (though it sure does look nice when the in-laws come to visit). It’s about function, man.
Cleaning your shuffleboard table is the most important step in making sure you have countless hours of good sliding and competitively fun shaking. When the table is clean, pucks glide effortlessly down your touch surface with no hiccups and your scoring is correct. The quick answer—Dust the board with a micro-fibber cloth. Apply a shuffleboard cleaner and work the cleaner into the surface a little. Buff it with a soft towel. That’s it. Three minutes. And done.

But the fun part starts here, and why a few shark contenders in the shuffleboard community don’t want it to go far.
Simple is not always best, but necessary to do. Things to keep clean will help prevent the dirt, dust, and age old wax from building up—and become a lumpy and sticky surface for your game play. Don’t worry about it, we have checked shuffleboard table that have not been cleaned for possibly months (maybe years)—and it does not look good. When dirt and wax build up for too long, the wood surface will take a beating and get permanent damage worse than a ding on your car.
A clean shuffleboard table will be a beautiful and beautiful playing surface. If your shuffleboard is cared for, you will have years of fun with family and friends. Whether you are a strict scorekeeper or casually play anytime after dinner, having a clean table is absolutely critical for your shuffleboard game.
Are you Ready for Battle? Preparation is Key
Get yourself prepared for possibly the three best minutes of your entire day. As with any good project, cleaning your shuffleboard table starts with your supplies ready. Nothing kills momentum like realizing half way through cleaning, you are missing something!
Getting your Cleaning Supplies
As for supplies, we will go in order of the most useful to least useful. You do not have to use these products, but you do have to have the proper tools for the job.
These are my recommendations to be placed into your shuffleboard maintenance kit:
- Silicone spray (this will be your most important friend)
- Shuffleboard wax or speed powder
- Multi-surface cleaner (not too harsh)
- Soft cloth or microfibre towels
- Shuffleboard brush
- Vacuum cleaner (not a must but handy)
Treat these items as your cleanup crew. The silicone spray serves as the protective layer, which will keep the surface ready and able to play. Shuffleboard wax is where the magic happens. This wax allows the puck to glide across the board like they are floating. The multi-surface cleaner does the heavy lifting to get surface grime buildup off, while the shuffleboard brush cleans the rest off the surface.
We learned this lesson the hard way when we attempted to clean a table with all the assorted odds and ends that were lying around in our abode! Spoiler alert. It did not work very well!
Inspecting Your Table’s Current State
Now onto the investigational order of business. Take a real honest look at your table top playing surface. Do you see any marks, scratches, or heaven forbid, sticky spots where somebody spilled their drink last weekend during during the tournament? How are the gutters and edges? Dust loves to party in those places.
Now run your hand across the surface lightly. Does it feel smooth or grab on the rough spots? Are there some spots that feel stickier than others? Those is a big indication about what your table needs. Some tables just need a crispening up while others need more love and care.
According to industry stat, about 78% of shuffleboard performance issues are caused by improper surface care and treatment. That sticky spot near the scoring area? Noticing you losing points because of it?
The personality of each table and its playing surface is somewhat unique and different each time. Understanding what is going on with your surface will give you a sense whether to take the full three-minute or just need a simple touch-up. We promise that it will save your time.
The Daily Shuffle Dance: Maintain Routine Cleaning that Works
Here’s a little secret that most people do not know: the best shuffleboard surface care happens in small, regular fashion. Like brushing your teeth: a little success is better than cleaning every six months for six hours.
Three-Minute Preparation
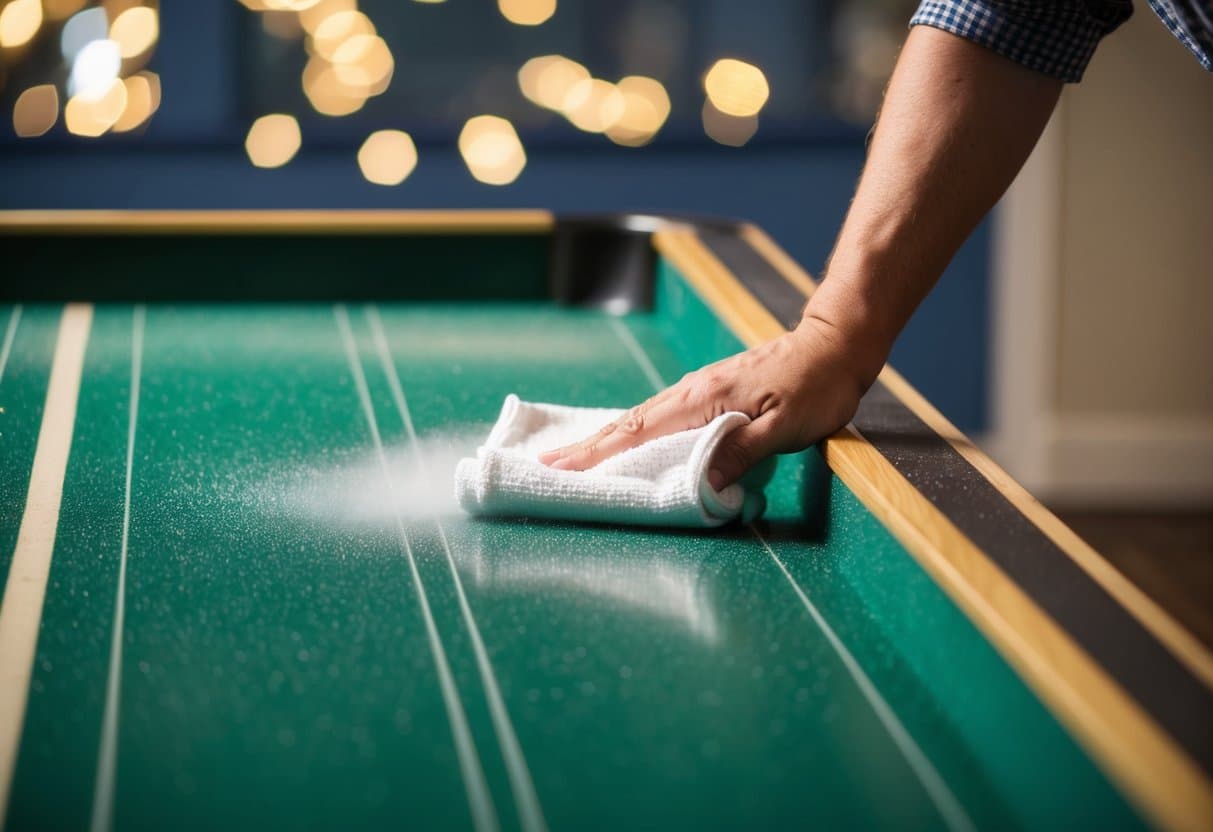
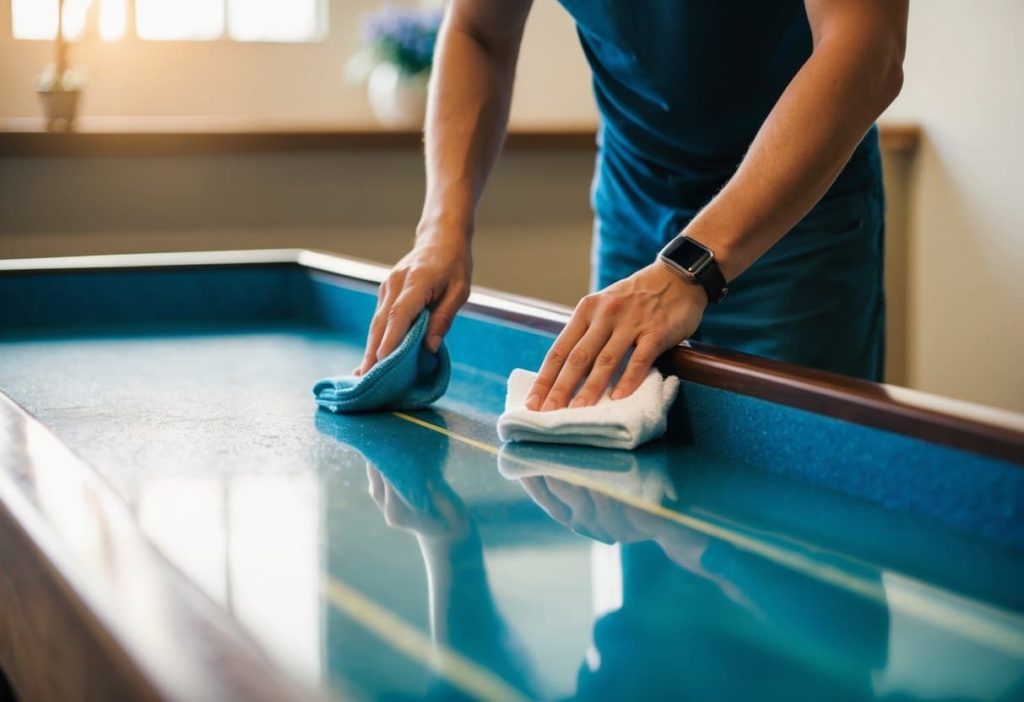
One microfiber cleaning cloth and Figure out the right four ratio of about a half a spray bottle with 67% water and a small squirt of mild dish soap. Literally a small squirt of soap. More soap creates more problems then it cures. Lightly mist the solution across the table. Just a light misting, you aren’t watering your garden. It is not a soaking. Then wipe the table with your cloth, using a consistent circular motion from one edge to the other.
For the persistent marks that don’t want to budge (like from that great game two months ago), add some force to your wipe. But, again, you are not scrubbing paint off the fence, you are removing dirt. Your aim is to clean it without ruining the finish underneath.
After you have wiped the entire surface, take a dry cloth and give everything another wipe. Moisture is the enemy of a good shuffleboard surface; leave everything completely dry. We have tried this a few dozen times, and it provides industry quality results for us in less than three minutes each time.
Out with the Dust Bunnies
While dust may seem innocent enough, it is largely the main犯人that will ruin performances on the puck. These little acquisitions make friction that will slow the puck or totally stops a perfect shot from being on target.
Cleaning dust from the table surface can easily be removed with a soft bristle brush, or a clean-dry microfiber cloth. Dust the surface gently, but make sure to give it extra attention at the gutters, where dust collects. Remember the gutters are like your dust magnets, everything that floats by like space debris is attracted to the gutters.
For those moments when you need a more powerful blower (and I mean no short of compressed air). It is like a mini tornado’s blast to your table surface. All debris is blown away without brushing much against the surface to avoid damage. Simply aim away from yourself, if you’re not eager for a face full of dust.
Don’t forget about the sides and legs of your table! Dust doesn’t know prejudice—it’s everywhere and touches everything. A quick wipe on those will make the whole set-up look crisp while also stopping dust from bath back onto your playing surface.
Research has shown that frequent dusting can improve puck glide consistency by close to 34%. You may not see that as a big deal, but in a close match, it’s the difference between you celebrating or another player grabbing the big trophy.
Performance Tuned: Make Your Table Sing
This is the key! A clean table is one thing, but a tuned table to whisper sweet nothings in your ear? That is where average players become intimidating contenders and intimidating contenders become immortalized stars of our game.
The Science of Waxing
Waxing is not just for lubrication, it’s the balance of speed and control. Too much wax, and pucks will launch off the end of the table as if they have a flight to catch. Too little wax and pucks will cower like they are stuck onto the playing surface.
Take a prefab wax or wool rags and “clean” all the prepping on the playing surface with the rags and apply spray silicone evenly on the entire area with the rags. The most important thing is that it spreads evenly across the surface! Want it to NOT be uneven with patches of slickness, so set the surface up to spread evenly across the surface so there are no unpredictable ‘sudden stops’ during play! After the silicone spray dries thoroughly, lightly sprinkle speed powder (shuffleboard wax) on the entire surface. Through our study, we find people use way too much wax on their first try. Start with less than you think you need and add more if needed. Remember, you can add but removing all that wax is a pain and you have to start the whole process over again.
The wax application should feel smooth (not slick) when you run your hand across it. If it feels like an ice skating rink, you added too much. If it feels like sand paper or grabby, you need to add more coverage.
Climate Control (Yes, this Matters)
Here’s a surprise: your shuffleboard table is just a big piece of wood and reacts to humidity and temperature changes. What worked perfectly in the summer might not be right at all in the winter.
Most quality shuffleboard tables have climate adjusters, those neat little mechanisms that keep your table flat when the wood expands and contracts. Make sure you check these often, especially when the seasons change. A warped table, even slightly, will send pucks anywhere no matter how clean the surface is.
If you live in a humid climate, seriously consider using a dehumidifier in your game room. Too much moisture causes the wood to swell, leveling the table and the material for wax to stick. A humidifier may be the solution if your climate tends to dry out and cause cracks to the wood or shrinkage.
Maintain room temperature as best you can. Sudden changes in temperature cause the table to rapidly expand and contract which could create uneven areas and effect play. We learned this the hard way during a scorching summer where our game room would go from cool to sweltering hot every single day.
Making Those Pucks Glide
Smooth puck glide is the difference between pro play and weekend warrior play. This is more than the table surface, you need to keep your pucks in check.
Keep your pucks cleaned often, and after every few games using a lint free cloth and cleaner. Any dirt, wax, and debris on the bottom of any puck will be transferred to the clean table surface and inhibit it from playing consistently. It’s like tracking dirt through a freshly mopped kitchen.
Make sure to also inspect frequently. Chips, scratches or other damage to a puck will create drag or throw other pucks off randomly. Replacing a damaged puck is cheaper than recoating a table due to scrapes.
Don’t forget leveling. At a minimum, use a good level tool to check in several places. Even perfect when set up, the settling, temperature change, or just wear and tear on the table can throw some off. Adjust up and down on the legs as needed. Everyone tires to hold perfectly flat while sliding a puck, so make sure adding you maintain that perfectly flat surface so every shot sticks.
Safeguard Your Investment: Long Lasting Care that Works
Now for the stuff that happens between games: the protection products that keep your table looking and playing like new years after you first setup your table. Because truthfully, a good shuffleboard table is an investment worth protecting.
Furniture Wax: Your Table’s Best Asset
Quality furniture wax goes beyond glossing over your table, it creates a barrier that protects from scratches, spills and wear. We recommend using quality paste wax expressly made from wooden surfaces.
Use a small soft cloth to applying the wax in small circular motions. Don’t try to wax your table at once, wax it in sections for even distribution. Let the wax dry for about 15 minutes before buffing it with a clean dry cloth and you should be left with a silky-smooth glossy finish.
Some players prefer liquid polish for the express convenience of quicker application. Liquid polish works well for touch ups after a game, however, it does not provide the protection that last. Liquid polish is your weekly maintenance and paste wax is your monthly deep maintenance.
As always consistency is key. A light wax once a month is better than a thick wax twice a year…. Your table will love you, play well and look showroom fresh enough that they might ask if you just bought it yesterday.
The Polymer Finish: The Industry Game Changer for Long Lasting Protection.
If you are looking for durable long-lasting protection, then polymer finish is a critical step to put on the surface of the table. The importance of a clear protective finish cannot be understated. It provides ‘invisible armor’ protection against spills, scratches, and abuse. A finish is important if your table is subject to a lot of play, or if you have kids who may not be as careful as you would like them to be.
A polymer finish will need to be reapplied either every few years, or sooner if the surface is showing excessive wear patterns. Be sure to thoroughly clean the table surface before applying finish. Any dirt or debris that gets trapped under a polymer finish will be trapped permanently. Always follow the manufacturer’s instructions for applying finish, because if you mess it up, you’ll need to sand it all off, and start over.
We’ve seen tables with 10+ years of continued use and still look great due to proper polymer protection. The up-front time and money investment will pay off with long lasting table life, and great performance.
Covers and Common Sense Protection
When you are not using the table cover it. Period. Even if your game room is spotless and dust-free, airborne particles will settle on surface and affect playability. Even a fitted cover made for shuffleboard tables is the best but a clean bed sheet is better than having the surface totally exposed.
Maintain your table legs and frame. Regularly check (1x month) the frame and legs for loos screws or bolts and tightened them before they become a problem. A wobbly table is annoying, but it is also dangerous since it breaks the level playing surface necessary for an honest game.
If possible, place your table in a spot where it is not exposed to direct sunlight. UV rays will fade and cracking lacquered finishes over time, and extreme temperature exposure from sun will cause wood movement that impacts the table’s flatness. Outdoor Shuffleboard – no sure thing!
Outdoor shuffleboard tables face outdoor-related challenges that indoor tables do not, and will make an indoor table cry. Sunlight, rain, wind, leaves, bird poop… it is like the outdoor elements have declared war on your playing surface. With the right strategy, your outdoor table can withstand the beating (literally) and continue to perform.
Weather is the primary enemy of an outdoor shuffleboard table. UV rays from the sun will discolor and crack even the best finishes. Rain can bring about warping wood, and potentially mold or mildew. Snow and ice? Let’s not even go into what freezing temperatures can do to an exposed surface.
Always keep a cover on your table when it’s not in use. A cheap tarp from the hardware store won’t do—the key is to get a cover specifically designed for outdoor shuffleboard tables. These covers are made of weather-resistant materials and will fit snugly, helping to defend against the wind.
The management of moisture is critical for an outdoor table. Wipe of (or dry) any excess or standing water immediately, even the morning dew. Monitor periodically for signs of mold/mildew, especially in warm climates or in areas that are shaded and do not get ample air circulation.
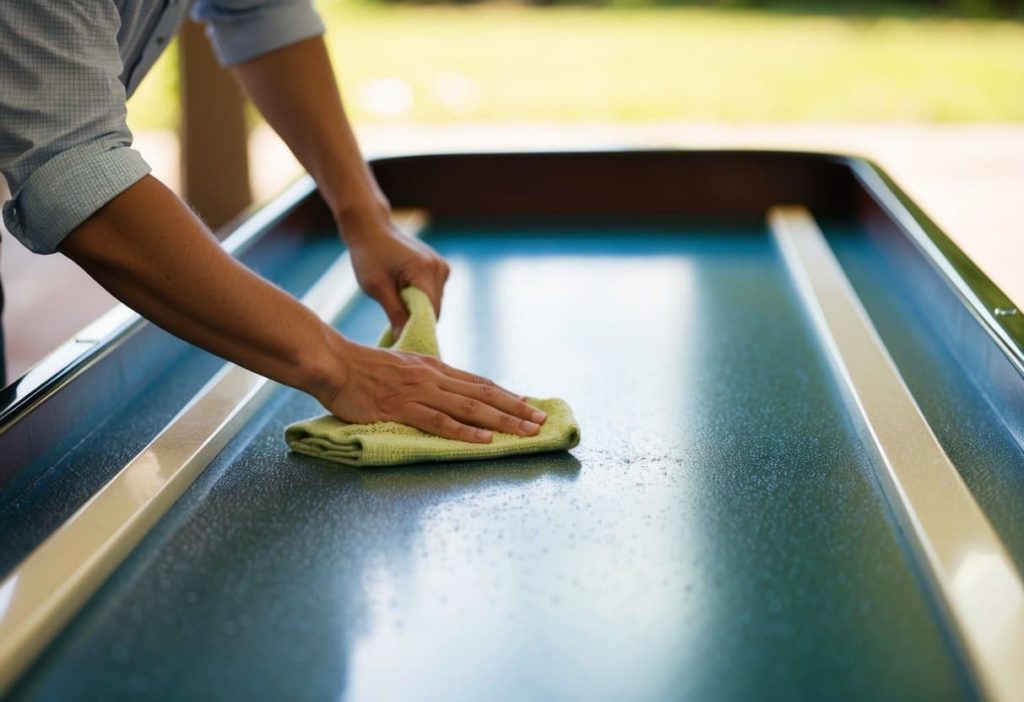
Removing debris will be a daily task for your outdoor table. Leaves, dirt, pollen and all the other outdoor elements could scratch the surface of the table if a player is not careful. A soft-bristled broom should be used to dust the table before every game (be gentle, you do not want to grind small particles into the finish).
Use an outdoor formulated cleaner. The key elements of these products are designed to be stronger and withstand temperature extremes better than any indoor cleaner. Again, make sure to test any new cleaner in a small area that is not noticeable first.
You will use fresh silicone spray on outdoor tables more often. Elements break down your protective coating faster than indoors. Therefore, something could last a month indoors, but outdoors you will want to reapply it every week or two.
Storing your pucks and accessories indoors when not in use can prevent wear from weather and protects them from becoming a projectile in case of a storm. We’ve heard of pucks becoming a deadly projectile in high winds, which is not nice to explain to your neighbor.
If you have harsh winters, think about seasonal storage. If you can’t bring the whole table inside, use a heavy-duty cover and do some extra maintenance checks in spring.
Troubleshooting Like a Pro When Things Go Wrong
The even better news is that if you are having problems with your shuffleboard table, even with great maintenance and care, the majority of issues can be fixed in a relatively easy way, and many of them can even be prevented with the best information base.
Dealing with sticky surface syndrome
You never want the puck to be stuck halfway on the table. This usually happens from dust and dirt
building up on the surface making the puck sticky when it should be a slide.
Start by cleaning the surface with a microfiber cloth. If the general cleaning doesn’t work, you may have to use a shuffleboard cleaner that will cut through the gross buildup. Apply the cleaner according to the manufacturer’s directions and buff with a clean, dry cloth.
Sometimes the problem isn’t dirt, but is actually a worn-off silicone spray. Apply silicone spray generously, making sure to apply it evenly on the full playing surface. Let it dry completely before trying a puck.
Changes in temperature and humidity can also create a sticky surfaces. If your game room is not climate-controlled, you will probably need to adjust your maintenance plan for seasonal changes. What is good maintenance in the summer might cause problems in the winter, so you will need to be ready to change.
Climate Adjuster Troubleshooting
Climate adjusters are those little devices are used to help keep table level as wood expands and contracts with humidity and temperature changes. When the climate adjusters are not functioning correctly, the entire game is impacted.
First check to make sure all adjusters are about the same height. Use a level to check that your table surface is properly flat. Most likely the adjusters are uneven and that is why the pucks keep moving from side to side.
If any of the adjusters are stuck and will not spin, consider using a small amount of penetrating oil if they are stuck. Give it a couple minutes and then try to turn them again. Just be careful not to strip the threads or possibly do more damage if you force a stuck adjuster.
Sometimes the adjuster works fine, but the table is still not level, which could mean the floor is not level, or because one of the table legs has moved. Make sure if the legs are good and adjust, and use shims may be required if the floor is uneven. Problems and Solutions with Shuffleboard Pucks
Most often when pucks are not functioning properly, it is the pucks and not the table. In fact, damaged pucks can lead to poor playing and can even hurt the table surface.
Always inspect the pucks for chips, cracks, and signs of excessive wear. All it takes is a tiny chip or crack to affect the way a puck slides and will ultimately lead to the table being damaged. If a puck is damaged, replace it immediately as the cost of a puck is far cheaper than repairing a scratched table.
Pucks should also be cleaned using warm soapy water and dried thoroughly before use. Even a little accumulation of wax, dirt, or debris on the bottom of the pucks will transfer to a clean table and diminish the performance of the puck.
If the pucks are sliding too fast or too slow, and you’ve maintained the playing surface, the problem may rest with environmental factors. Temperature, humidity, and even atmospheric pressure may affect how the puck reacts to the playing surface. You might consider increasing or decreasing the wax and/or silicone spray application.
Only store pucks in the proper way when not in use. A clean, dry storage cabinet allows the pucks to last longer and ready for the next game. We use a very basic wood box with padding—nothing major, and it keeps the pucks in great shape.
Frequently Asked Questions
We get asked a lot about shuffleboard care and maintenance, and it’s funny; some of the questions that are asked of us are shocking. Here are the real answers to the questions people really ask (not the questions we hope they ask).
What are the right actions to keep my shuffleboard table working in order?
Every day: Dust with the use of a clean and soft rag. Every week: Clean with water and soap and dry completely. Every month: Put wax a full coat and look at the adjusters. Every few months: A thorough clean and check overall condition. That’s it: Be consistent, not intense!
Someone told me to use vinegar to clean my table. Is that correct?
Please, DON’T! Vinegar is acidic and will ruin the finish of your table. Stick with shuffleboard-cleaners or a very weak dish soap solution. Your table’s surface will appreciate you, and you won’t have to explain to your spouse why the table looks cloudy!
My pucks are sticking. What is going on?
Nine times out of ten that’s dirt or maybe a lack of wax. Use a strong cleaner on the board to remove anything. Put fresh wax on it. Verify that the table is level. If it still continues, check your pucks. They can also break sometimes, and the table probably isn’t the problem.
Can I use silicone spray on my shuffleboard table?
This is where it is confusing because yes and no. Use specific silicone spray designed to be used on shuffleboards only; house silicone spray will ruin the surface and affects the playability. There is a difference, and it matters!
I got an old shuffleboard table. How do I bring it back to life?
Start with a full clean to see what you have to work with. You might have to do some light sanding to remove scratches/all the finish. Apply one or two thin applications of shuffleboard finish and allow completely dry between coats. Finish it with a coat of wax. Be patient; if you rush the process you will most likely have to do it again.
I need to take my table apart to move. How do I take it apart without breaking it?
Start with by removing the scoring system; then remove the side rails. The playing surface is the heavy part; make sure you have help, and use proper lifting techniques. Bundle everything up with moving blankets and pads and number everything to make reassembly easier. Most importantly, take pictures of everything before you unassemble so you remember how it once was.


